 Try this styleon your selfie · free
Highlights vs Lowlights: What They Do and When to Use Each
Published July 30, 2026
Highlights lift, lowlights deepen, and the smartest dimensional color almost always uses both together in carefully chosen ratios.
What Each Technique Actually Does
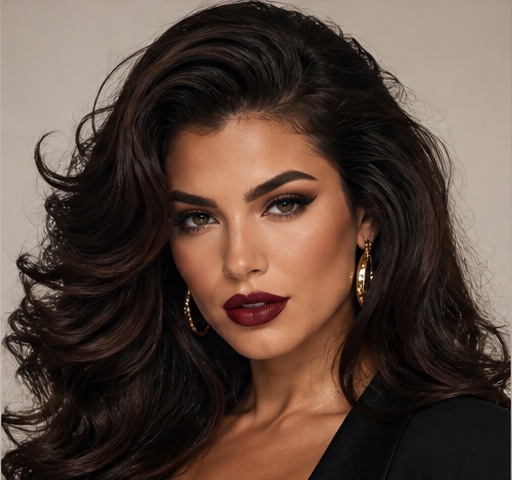
Highlights are sections of hair lightened a few shades brighter than your base, mimicking where the sun naturally hits: the crown, the face frame, and the ends. They add brightness, the illusion of volume, and that lit-from-within glow. Lowlights are the inverse: selected strands colored a few shades darker than your base to add depth, dimension, and richness, making hair look thicker and more expensive. Most people instinctively reach for highlights, but lowlights are the secret weapon colorists use to keep highlighted hair from looking flat, stripy, or washed out. Used together, they create natural-looking contrast, the way real hair has both bright and shadowed pieces. Understanding which one you actually need saves you from the common mistake of over-lightening into a one-dimensional, brassy result.
When to Reach for Highlights
Choose highlights when your hair looks flat, dull, or one-dimensional and you want it to feel brighter and more alive. They're ideal for blending early grays, brightening a mousy natural color, and creating the appearance of fuller hair, since the contrast between light and dark strands tricks the eye into seeing density. Fine-haired people benefit hugely here. Face-framing highlights, sometimes called a money piece, instantly lighten and lift your complexion and are the lowest-commitment way to test going brighter. If you're naturally dark and dream of dimension without committing to all-over blonde, partial highlights through the top layers give the effect at half the cost and maintenance. Just know that the lighter you go and the more you lift, the more upkeep and toning your hair will demand.
When Lowlights Are the Answer
Reach for lowlights when your hair has become too light, too uniform, or too brassy, often the aftermath of years of highlighting. Lowlights restore depth, add a sense of natural shadow at the roots, and break up a solid blonde or over-highlighted look so it reads dimensional again. They're perfect if your color looks washed out against your skin, if you want to ease back toward your natural shade without a harsh line, or if you're trying to make thin hair look fuller, since darker strands create the illusion of density better than light ones. Lowlights are also the gentlest way to transition out of high-maintenance blonde: by weaving in deeper tones, you soften regrowth and stretch the time between appointments dramatically. Cooler, ashier lowlights also neutralize unwanted warmth.
Using Both for Real Dimension
The most expensive-looking color almost never uses one technique alone. Combining highlights and lowlights creates the depth and movement that flat single-process color can't, with bright pieces catching light and darker pieces grounding them. A common balanced approach is roughly a seventy-thirty ratio favoring whichever effect you want to dominate: more highlights for a brighter overall result, more lowlights for a richer, deeper one. Placement matters as much as ratio: highlights near the face and crown for glow, lowlights underneath and at the nape for depth and the illusion of thickness. This dimensional layering is what makes balayage and foilyage look so natural. If your highlights have ever looked stripy or chunky, adding lowlights is almost always the fix, blending the contrast into something soft and believable.
Maintenance, Cost, and Previewing
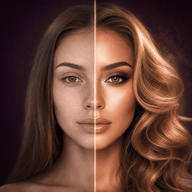
Highlights generally cost more and need more maintenance than lowlights because lightening creates obvious regrowth and requires toning to stay from going brassy, with touch-ups every six to ten weeks depending on placement. Lowlights are lower-maintenance since adding depth blends regrowth rather than exposing it, often lasting twelve weeks or more. To minimize upkeep with either, ask for placement away from a hard part line and keep contrast subtle. Before your appointment, it helps to visualize the balance you want, since highlights and lowlights look wildly different at different ratios. You can preview brighter-versus-deeper dimensional looks on your own selfie with GlowMaxing to decide whether you actually want to go lighter or richer before you sit in the chair, then bring clear reference photos showing the exact contrast level you're after.
The quick checklist
- Use highlights to brighten, add glow, and fake fuller fine hair
- Use lowlights to add depth, richness, and break up flat blonde
- Combine both for the natural dimension single-process color can't give
- Try a money piece first as a low-commitment way to test going brighter
- Lowlights stretch salon visits and ease the transition out of blonde
- Highlights need toning every 6 to 10 weeks; lowlights last longer
- Bring reference photos showing your exact desired light-to-dark contrast
✦ Free to start✨ Try these looks on your own selfie with GlowMaxing →Upload one selfie and try any hairstyle, color or makeup look instantly with AI. Free to start.Download on theApp Store